How to Handle Roof Leak Repairs in Dumas: A Step-by-Step Guide


Dealing with a roof leak in Dumas can be a daunting task, especially if you're unfamiliar with the process. However, addressing the issue promptly is crucial to prevent further damage to your home. In this guide, we'll walk you through the steps to handle roof leak repairs efficiently.
Identify the Source of the Leak
The first step in repairing a roof leak is to identify its source. This can be tricky since water can travel far from the entry point before it becomes visible. Start by inspecting your attic for signs of moisture or water stains. Use a flashlight to look for dark spots or discoloration on the ceiling and walls.
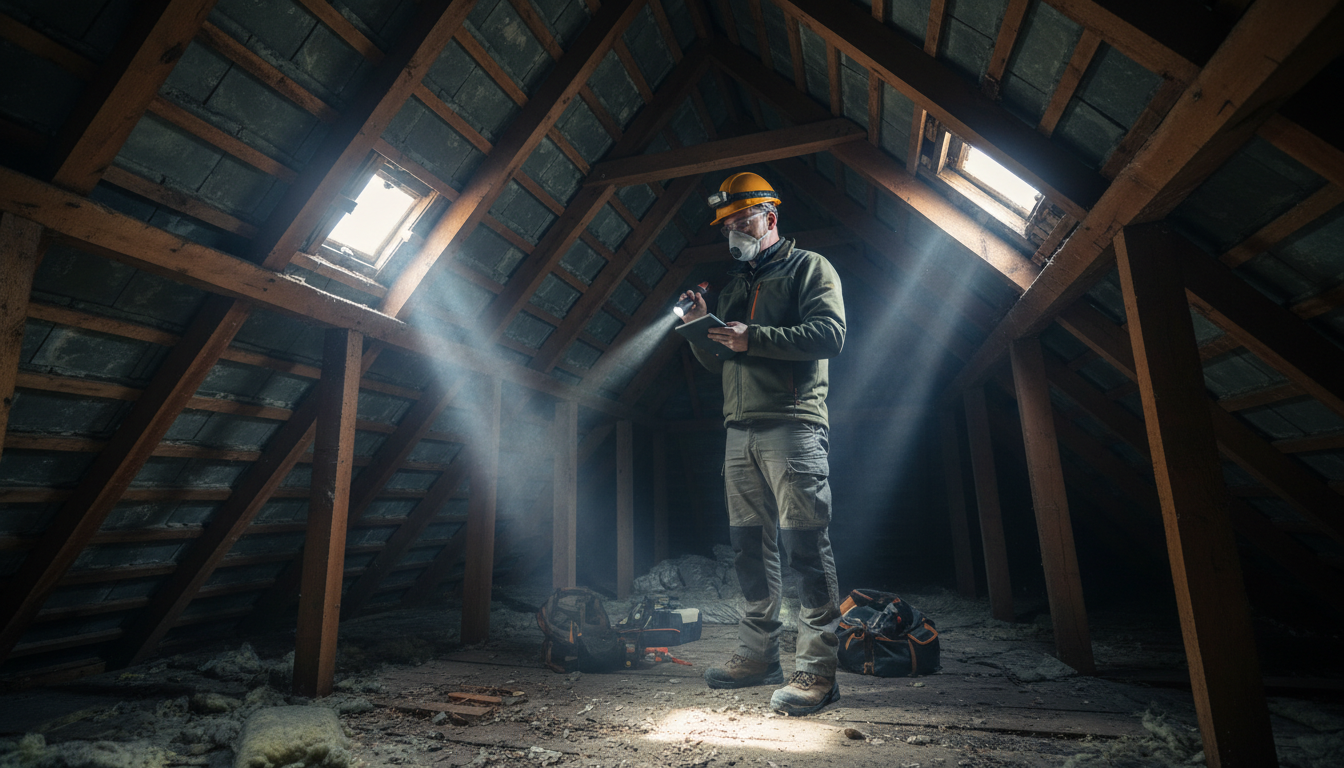
If you can't find the source in the attic, check the roof surface. Look for damaged shingles, cracked flashing, or any other visible signs of wear. Remember, the leak may not always be directly above the visible water damage inside your home.
Gather the Necessary Tools and Materials
Once you've identified the leak's source, gather the tools and materials needed for the repair. Common items include:
- Roofing cement or sealant
- Replacement shingles
- Hammer and nails
- Caulking gun
- Roofing nails
Having everything ready before you start will make the repair process smoother and more efficient.
Perform Temporary Repairs
If the weather doesn't permit a full repair immediately, consider doing a temporary fix to prevent further damage. Apply roofing cement or sealant around the damaged area to seal the leak for the time being. This will buy you some time until you can perform a more permanent repair.
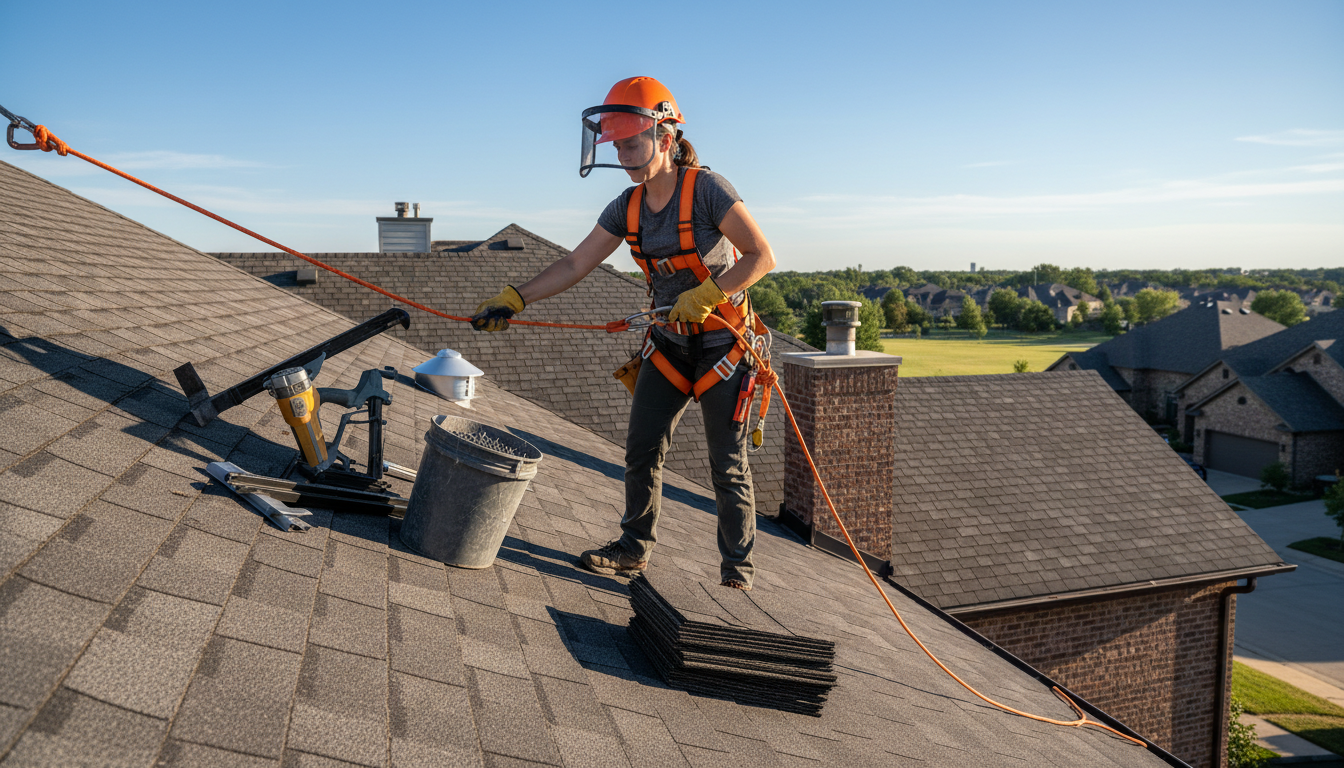
Be cautious while working on the roof, especially if it's wet or steep. Safety should always be your top priority.
Make the Permanent Repairs
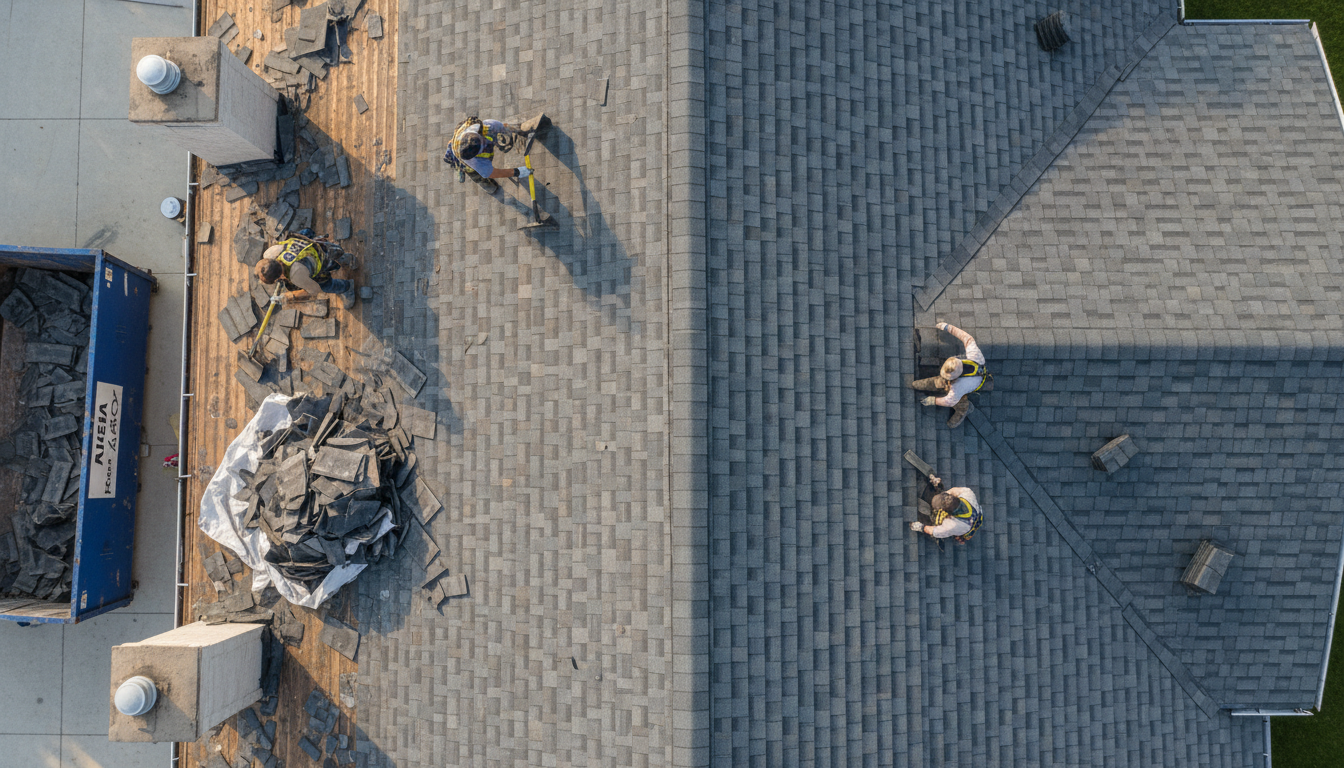
Once conditions are favorable, proceed with the permanent repairs. Replace any damaged shingles by removing the nails and sliding new shingles into place. Secure them with roofing nails and apply a layer of roofing cement to seal the edges.
For leaks around flashing, ensure that the flashing is properly sealed and secured. Use a caulking gun to apply sealant around the edges to prevent water from seeping through.
Inspect and Maintain Your Roof Regularly
After completing the repairs, it's important to regularly inspect and maintain your roof to prevent future leaks. Check for signs of damage after heavy storms and clean gutters to ensure proper drainage.
Regular maintenance can extend the life of your roof and save you money on costly repairs in the long run. By staying proactive, you can keep your home safe and dry.